When we first moved into this house, we knew right away that we need a lovely outdoor dining table to put on the deck. I started looking.
I knew to stay away from glass tables as Secret Agent Man had recently sent a wii controller into the glass of my antique coffee table.
I loved so many of the pottery barn outdoor tables. I especially loved this one
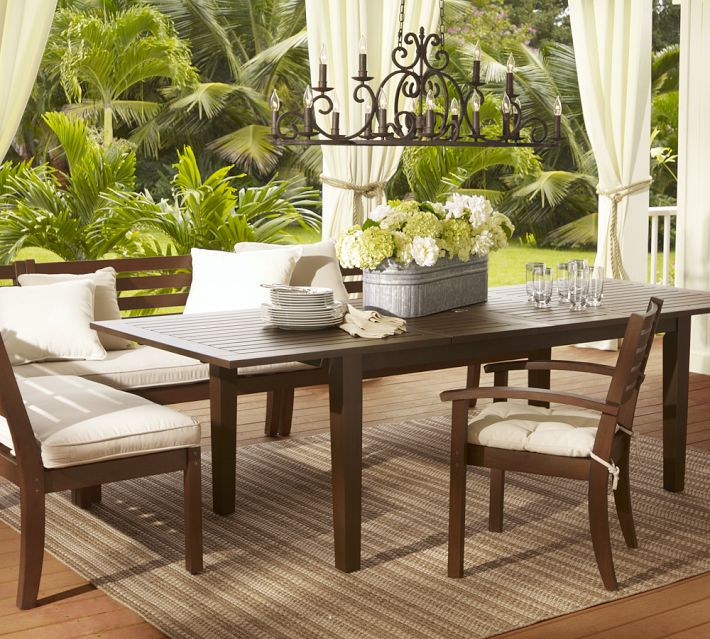
At $700 for the table alone, without the rug, chairs, cushions, chandelier and other accessories to make it pretty, I knew I would never pay that much.
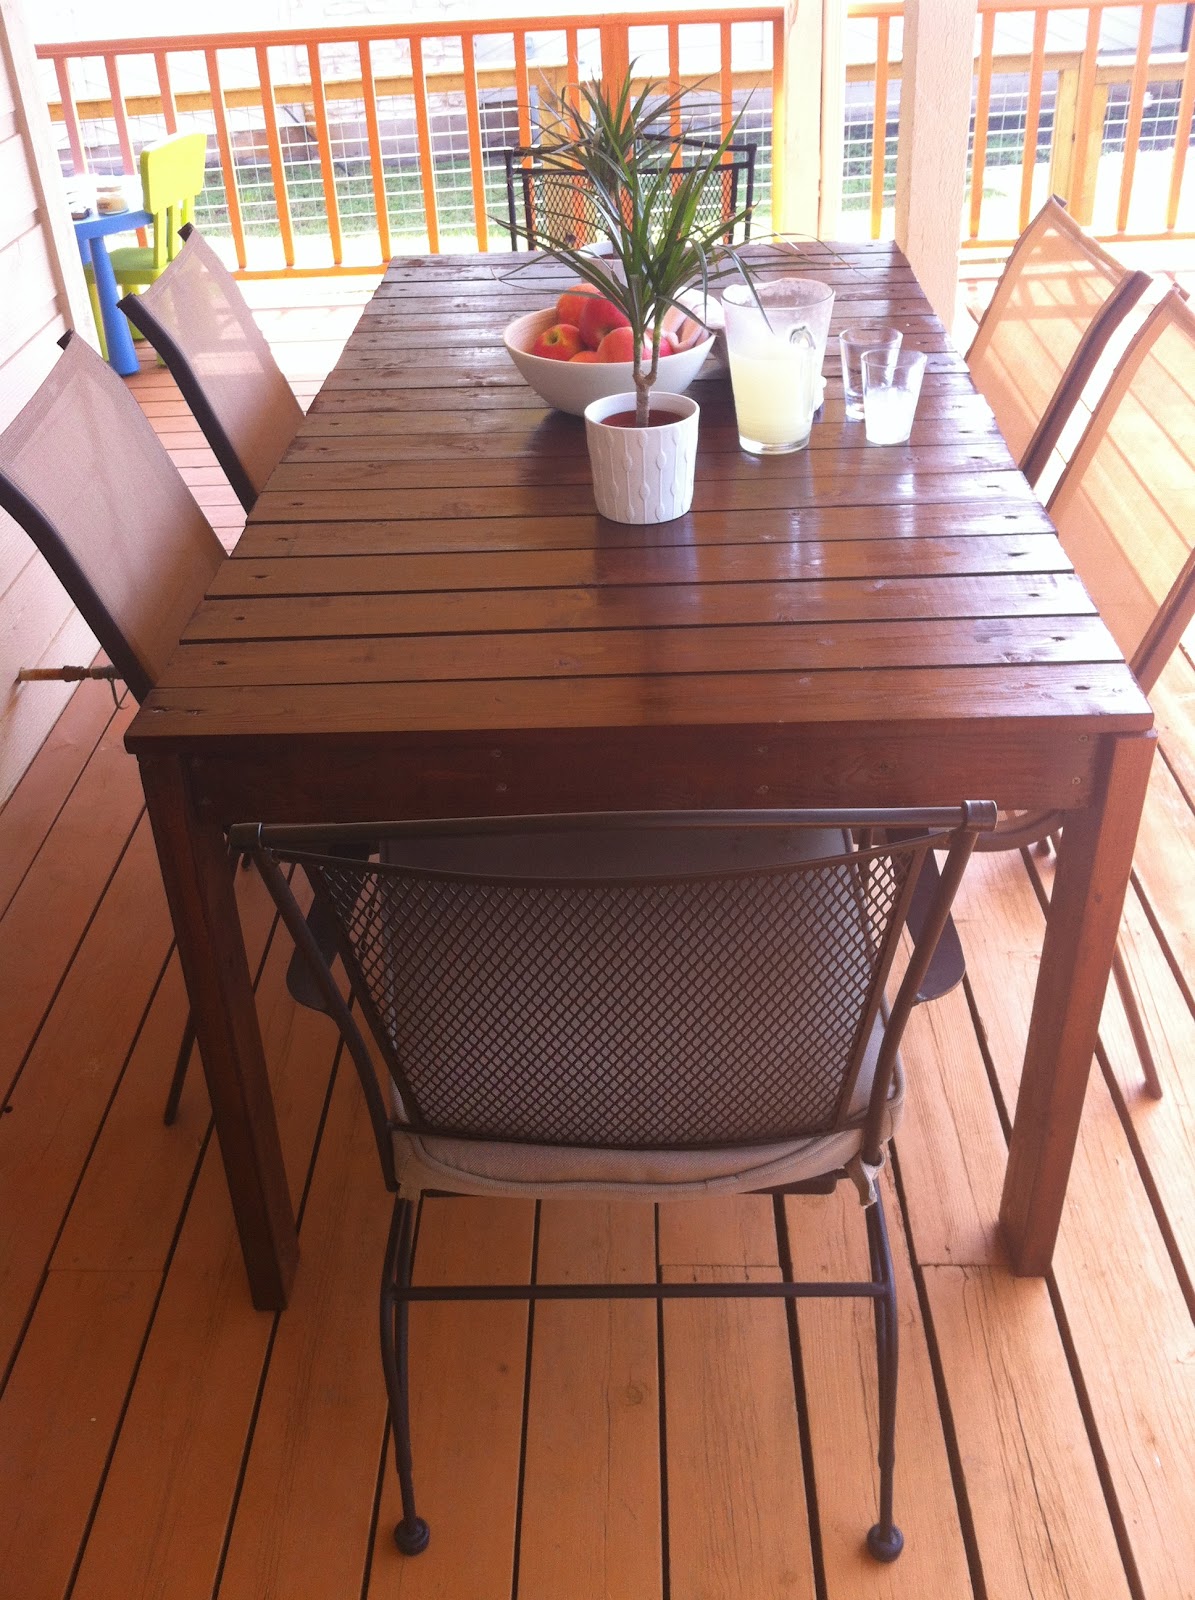
Especially because when you look at the same tables (or similar) being sold on Craigslist after a few months or years of use, they look like this -

and sell for $400, used.
I turned to my favorite builder and awesome blogger Ana White. She is amazing and provides free designs for DIY (Do It Yourself) furniture inspired by all of the beautiful furniture you want for your home at a fraction of the cost.
I have built a few other designs by her before, like these $10 ledges in our old house.

I knew it was time to turn to Ana again for the table.
I found these simple plans for the outdoor table.
I went to Home Depot and carefully picked out my wood, ensuring each piece was square and flat, not warped, and not damaged.
I then took all of my wood back to the cutting station and gave them the cut list. Yup, let them cut all the wood. Sometimes they will not give you precise cuts and sometimes they will charge 25 cents per cut but mostly they are awesome and make your building really easy.

I let the wood sit outside for a few days to adjust to the outdoor temperature and started staining on the Fourth of July. I used Minwax English Chestnut 233 for stain.

When working on an outdoor table it is important to stain before building in order to ensure you have full coverage. The stain helps to protect the wood and you would never get the stain in all of the tight spots you have after screwing pieces together.
Staining took a few days and accounted for the majority of the time spent on the project. After it was all dry, I framed it out. This was not even close to being evenly spaced but, it worked. Framing took about an hour and then I stopped for the night.

At this point, the weather started turning at night and there was a lot of rain. I moved the table inside and finished putting it together in about 2 hours. I ended up adding an additional board, 1 more than the plans called for because I wanted smaller gaps.
Getting the boards evenly spaced was not easy and they are not even but, you can barely tell! Nothing I am going to stress over. Also because the boards are not machine cut they are not perfectly lined up on either side. Again you probably would have to be looking for it to tell.
I took the table back outside and gave it another coat of stain on the top sides and legs and let it dry. Here it is all together!


Then I got to work wondering about chairs. I had two swivel chairs that I got at Goodwill in the box (from Target) for $35 last year. They are amazing, beautiful and were originally $200! I wish I would have bought six of them but did not have enough room at the old house.
I was going to build the matching bench for this table but wanted seating with structure. That's when Secret Agent Man and I found these stainless steel slingback chairs at Home Depot for $14 each! They were marked down from $39 each and when they rang up, they were $11 each! What a steal!
I still need to do a top coat and for that I plan to use Minwax Helmsman Spar Urethane clear coat in Satin. This requires three coats, lightly sanding with 220 sand paper between coats and 24 hours to dry after the final coat. That will leave this table UV protected, weather protected and long lasting!
I am so happy with the result but, I think it will be a while before I start another build!
It has been three years since this table was built. How did it hold up?
Want to see what the table looks like now? Click here for an update
No comments:
Post a Comment